From sign-in to your first policy.
Eight steps to deploy Group Policy Preferences through Microsoft Intune — drive mapping, printer mapping, registry settings and the rest. No infrastructure to provision, no agent to build, nothing to install on your workstation. You need a Microsoft Entra ID account with Global Administrator rights for the consent step, and an Intune licence to deploy the remediation.
Sign in with Entra ID
Open app.cloudpolicypreferences.com and sign in with your work account. There is no separate registration — your Entra ID tenant is the account.
- The first person to sign in from your tenant becomes the initial Full Admin.
- Accept the end user licence agreement when prompted — it is recorded against your tenant.
- If somebody else set the tenant up first, ask them to grant you a role in User Management.
Grant the Graph permissions
Cloud Policy Preferences resolves the display names of the users and groups you target. To do that it needs two read-only Microsoft Graph application permissions, granted once by a Global Administrator. Consent creates a service principal for the application in your own tenant — you can review or revoke it at any time from Entra ID.
 Cloud Policy Preferences
cloudpolicypreferences.com · accepts permissions for your organisation
Cloud Policy Preferences
cloudpolicypreferences.com · accepts permissions for your organisation
Illustration. The consent prompt is presented by Microsoft Entra ID, so what you see will follow Microsoft's own layout. The two permissions listed here are the only ones requested — both are read-only, and neither allows the platform to change anything in your directory.
The portal still works — policy targets simply show their object ID instead of a display name. The Graph API Permissions card in Settings tells you the current consent state and gives you the link to grant it.
Add your administrators
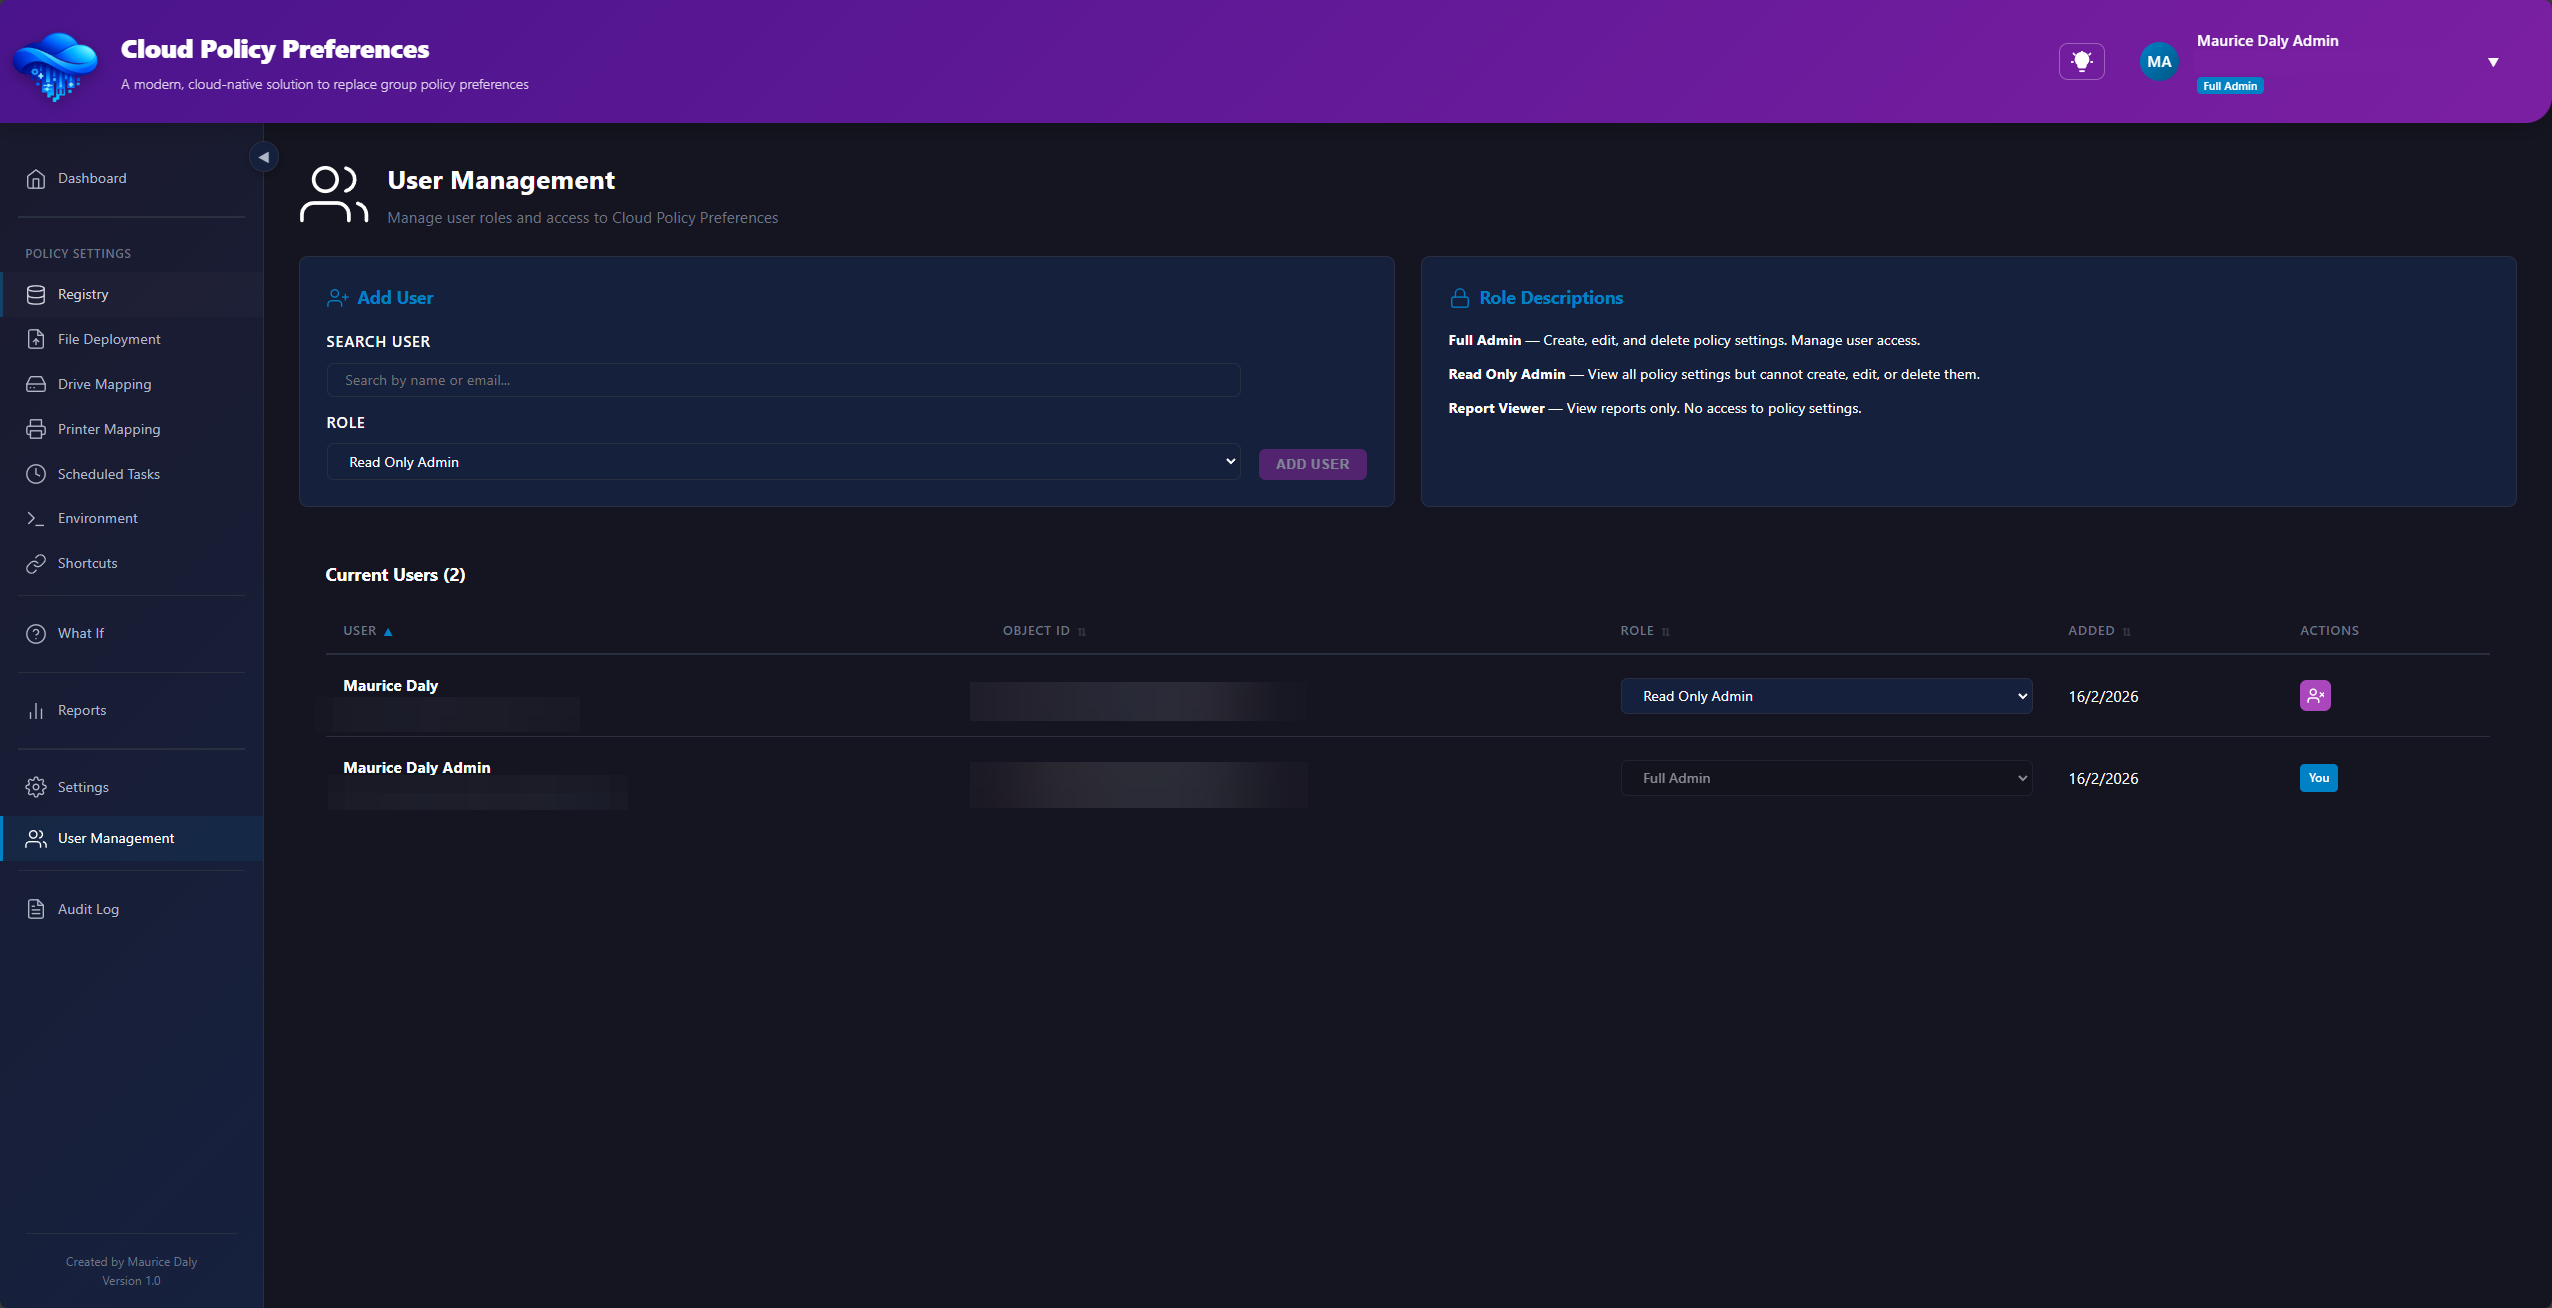
Open User Management and add the people who need access. Three roles are available, and everyone else in your tenant has no access at all until you grant it.
- Full Admin — create, edit and delete policies, and manage access.
- Read Only Admin — see every policy, change nothing.
- Report Viewer — reports only, no access to policy settings.
Add a second Full Admin now if you intend to use Multi-Admin Approval later — it cannot be enabled until at least two Full Admins exist in the tenant.
Generate the client authentication code
Go to Settings → Security and generate your client authentication code. Devices present this code when they call the Device API, so nothing can collect your policy payloads without it. The code is written into the scripts you download in step 6, so generate it before you download them.
Illustration of the Client Authentication Code card. Your code will differ.
Rotation invalidates every script already deployed. Re-download the pair and update your Intune remediation in the same maintenance window, or devices will stop checking in.
Turn on encryption
Still in Settings → Security, enable Device Data Encryption. A public and private key pair is generated for your tenant and stored in Azure Key Vault; devices encrypt what they send with the public key, and the service decrypts it with the private one. If you also want identifiers pseudonymised in reports, configure the Tenant Data Encryption Key under Privacy at the same time.
Illustration of the encryption and pseudonymization cards in Settings.
If you enable payload encryption, deploy the device setup script first so the key is present on the device before the detection and remediation scripts run.
Download the remediation scripts
Open Settings → Deployment and download detection.ps1 and remediation.ps1. Both come pre-populated with your tenant ID and the client authentication code from step 4 — there is nothing to edit before you upload them.
Illustration of the Remediation Scripts card. Match these two switches to the Intune settings in the next step.
Create the Intune remediation
In the Microsoft Intune admin centre, go to Devices → Remediations and create a script package. Upload the detection and remediation scripts you just downloaded, then set the options to match what the portal showed you.
Illustration of the remediation settings. The Intune admin centre is Microsoft's, so the real screen will follow its own layout — the values are what matter.
- Assign the remediation to the device or user groups you want covered.
- An hourly schedule keeps devices close to their intended state without being noisy.
- If you enabled payload encryption, deploy the device setup script first.
Create your first policy — and watch it land
Back in the portal, use Create a Policy. Pick a type, fill in the fields that type needs, and target an Entra ID group. A drive mapping or a single registry value makes a good first test, because you can confirm it on a device in seconds.
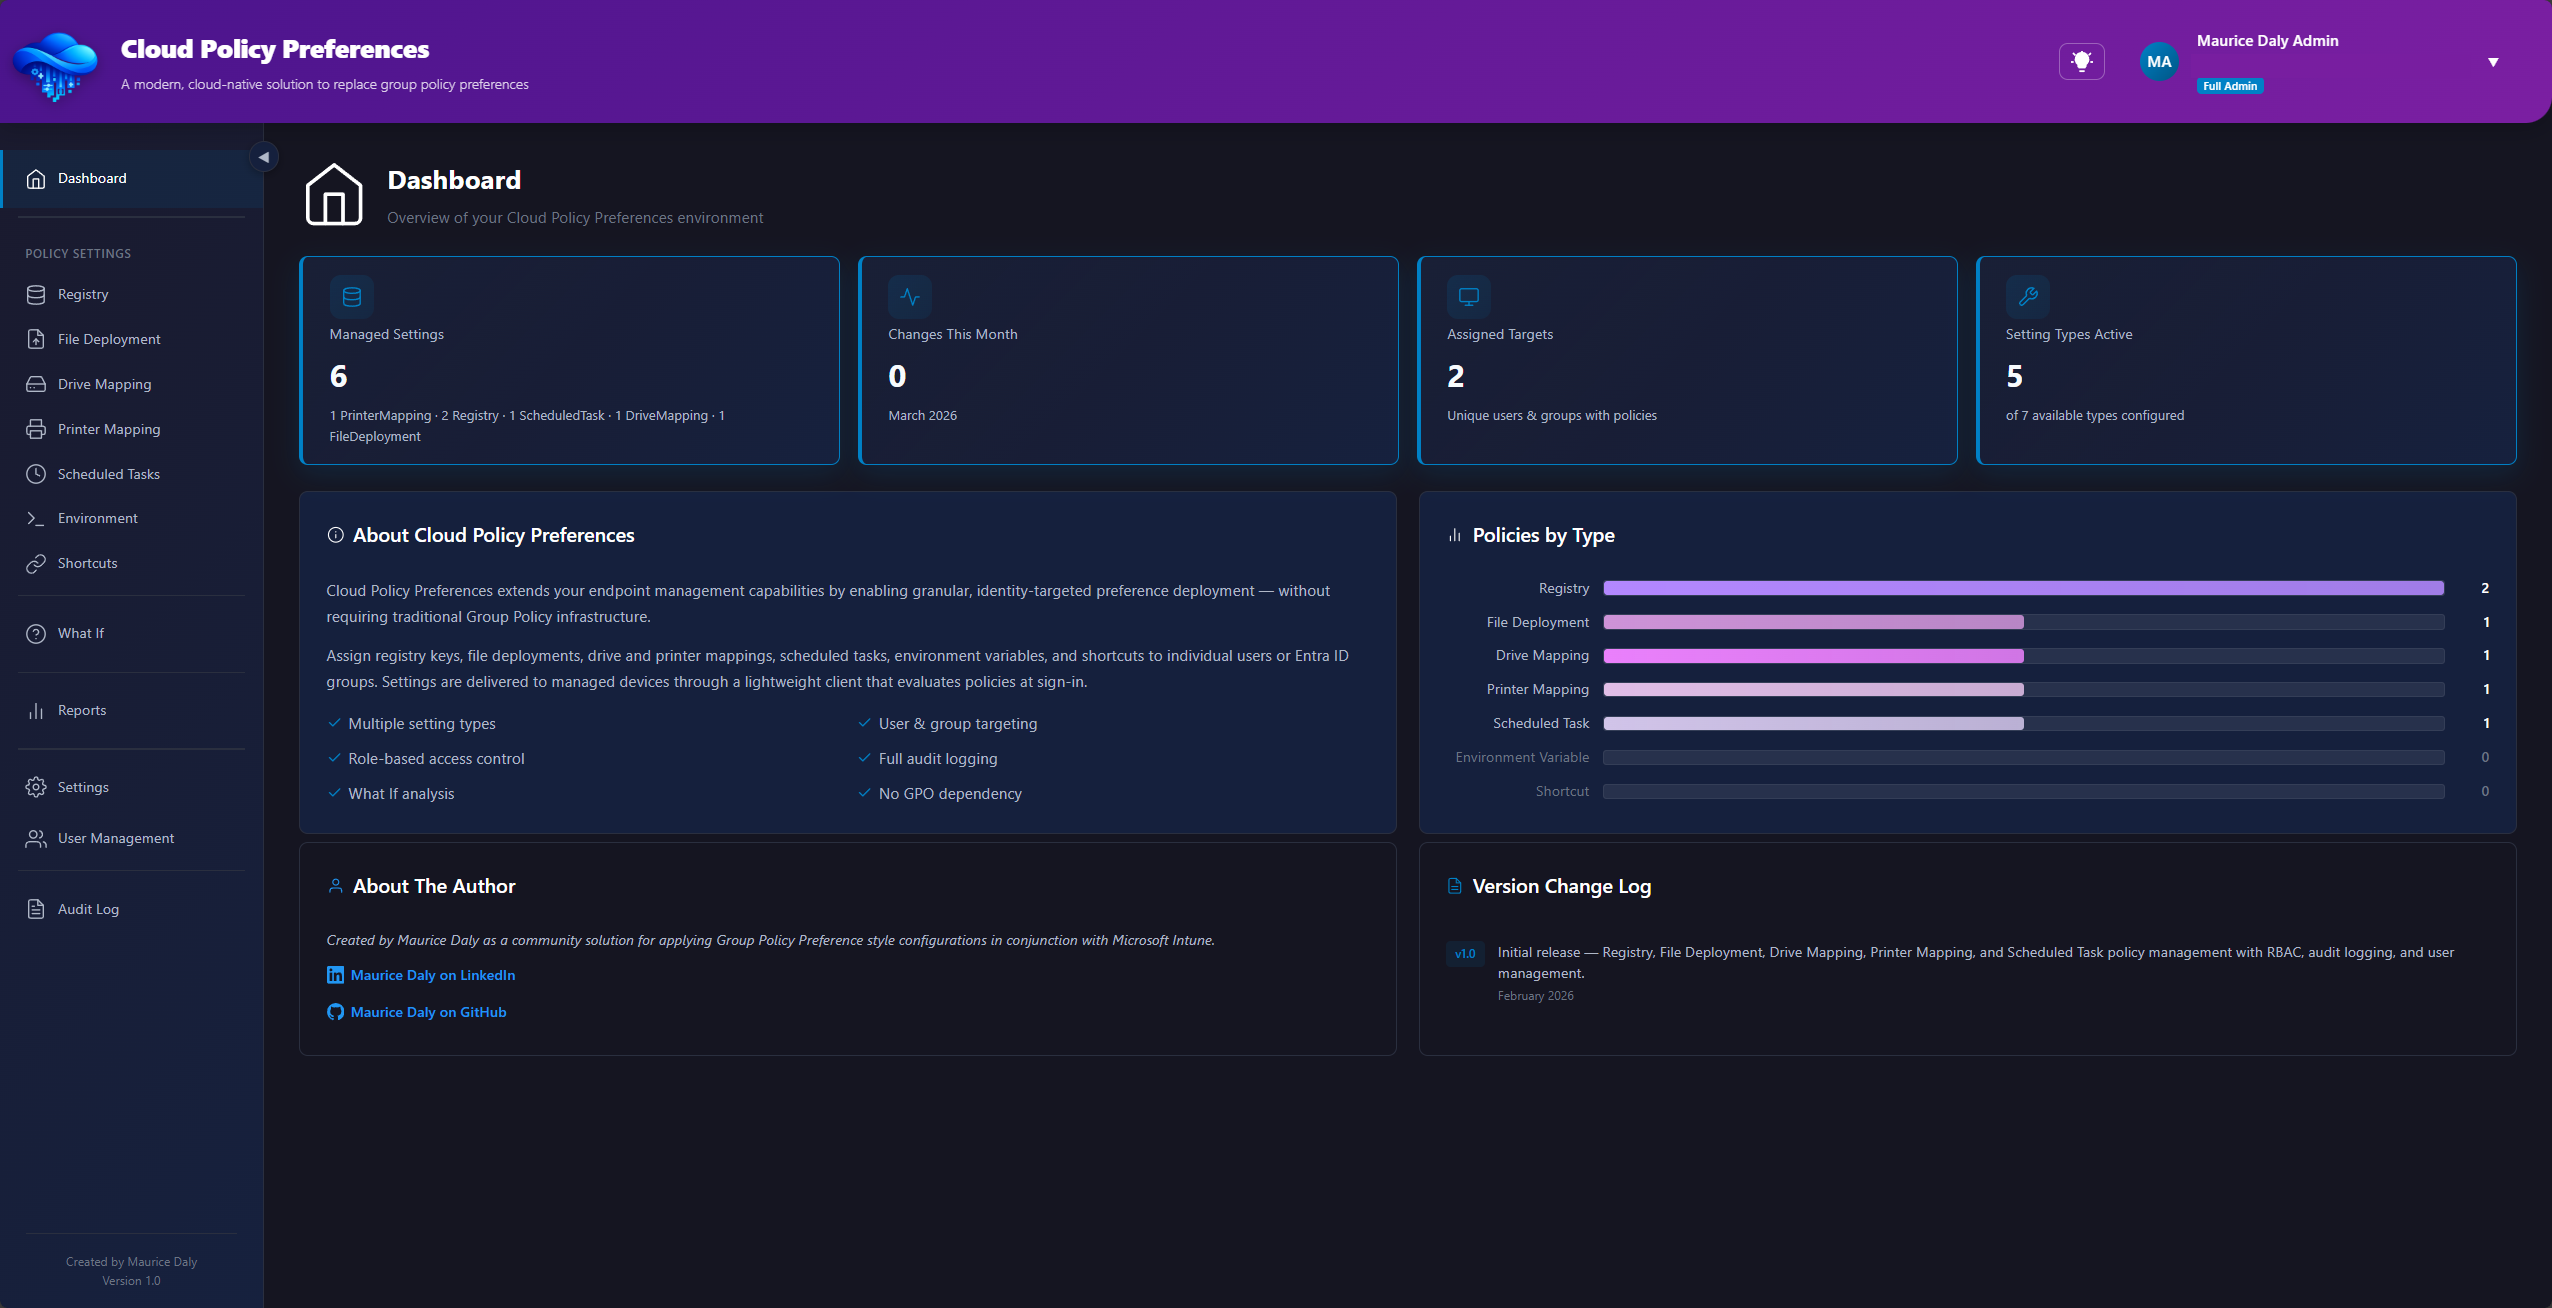
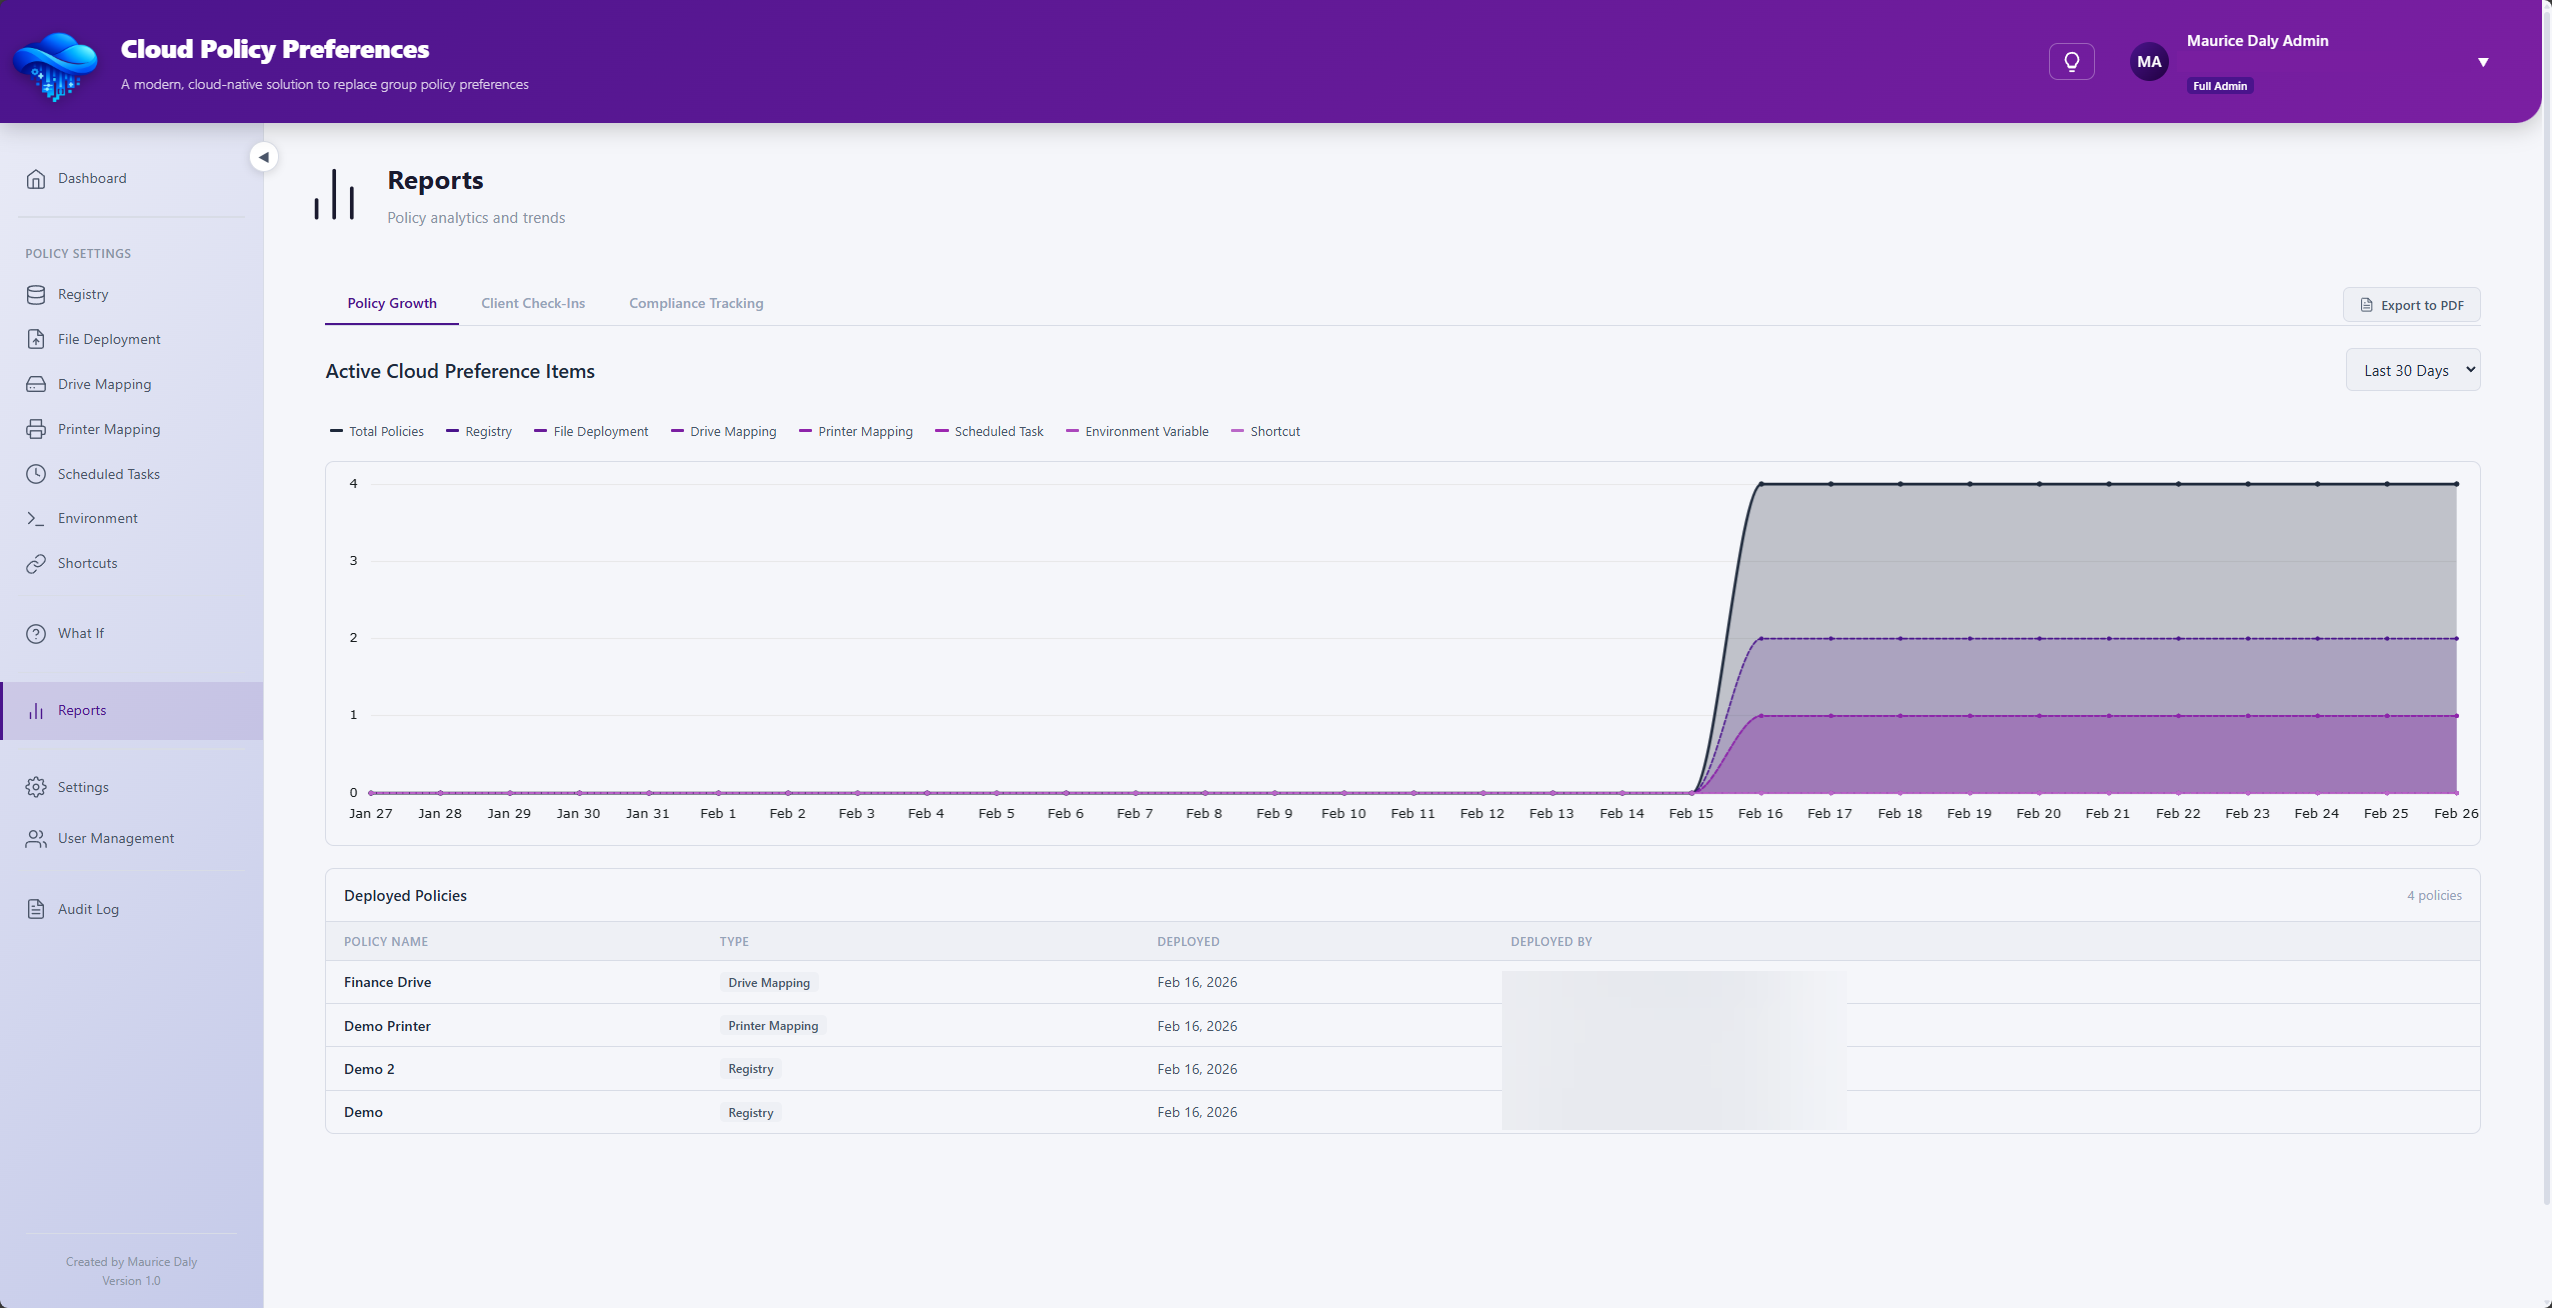
After the next remediation cycle, the device checks in and reports what it applied. Reports shows the check-in history and any drift, and What-If lets you confirm what would apply to a given user or device before you widen the targeting.
Check that the remediation is assigned to a group the device is in, that the schedule has run at least once, and that the client authentication code in the deployed script matches the one in Settings. Debug Options in Settings adds a raw data panel to the policy view while you are troubleshooting.
Eight steps, one remediation, seven policy types.
Everything after this is just more policies. Add admins, tighten access, or turn on multi-admin approval when the estate warrants it.